
SDL2 - Creating a Simple Window
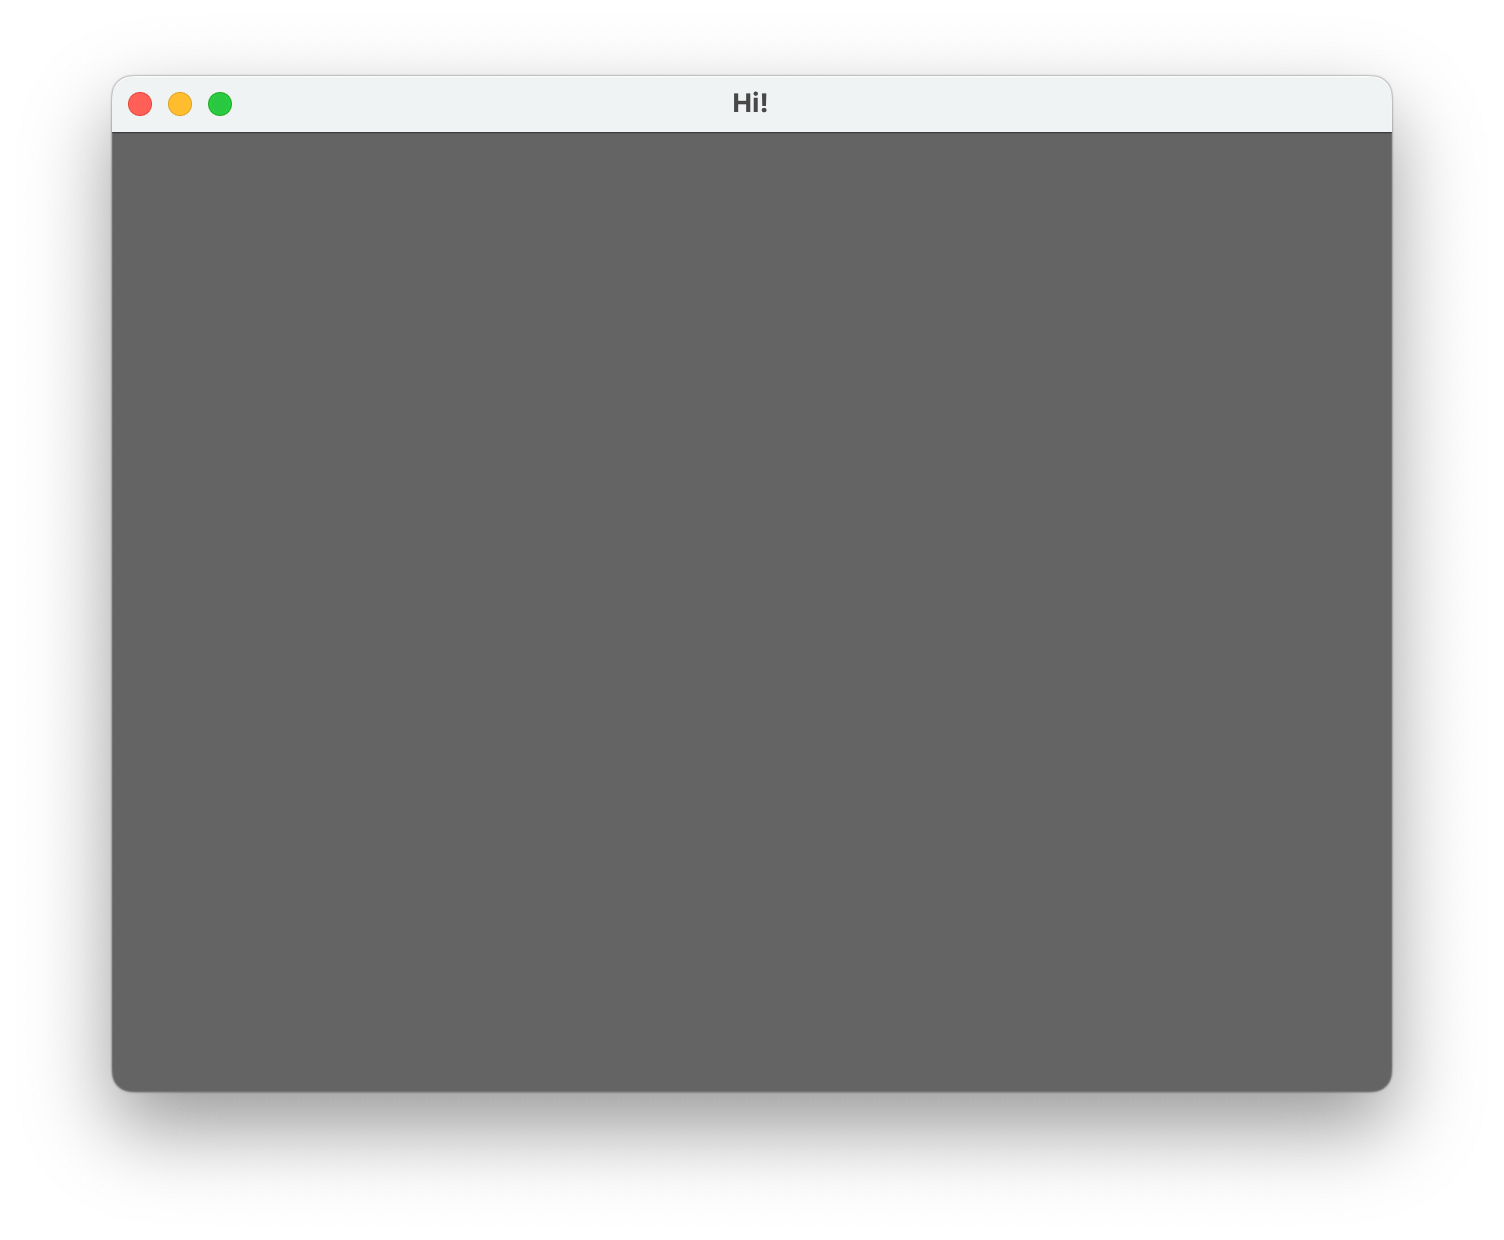
I can create simple Windows now!

It is actually pretty easy to create windows using SDL.
We just need know couple of concepts and functions and thats all. And after that, you too can create this amazing window.
What we need to know?
what is a window?
what is a surface?
what is a rect? ( rectangle )
what are the events?
I will not be going into too much detail about any of them as they are not necessary to know just yet. ( and i might not be the person who can go into too much detail as i don't want to give wrong information )
Window :
A window literally just on operating system window. We tell SDL to create one based on some parameters we gave to it such as title, initial position, width and height.
We can also set some flags to change the behaviour of them. Like, resizability, borderless or not any many more. Here you can check all of the flags we can use when we create a window.
Surface :
In essence, surfaces represent 2D images or canvases in SDL and others as well.
They serve as the canvas on which graphics are drawn, manipulated, and displayed.
Surfaces encapsulate pixel data, providing a structured way to interact with and manipulate graphical elements.
Rect :
A rect, short for rectangle, is a basic geometric shape in computer graphics. It's defined by its position (x, y) and dimensions (width, height), often used for collision detection and defining object boundaries.
Events :
Events in SDL are actions or occurrences, like keyboard input or mouse movements, that trigger responses in a program. SDL provides functions to handle events effectively, enabling interactive and responsive applications.
So, now we know these we can plan about creating our empty but glorious window.
Let's first define some variables for our windows width, height and our window and surface.
int WINDOW_WIDTH = 640;
int WINDOW_HEIGHT = 480;
SDL_Window* g_window = NULL;
SDL_Surface* g_surface = NULL;
Here are the steps we need to take inside the main function:
✓
Initialize SDL library.✓
Create a window.✓
Get the window surface so we can draw on it.✓
Fill the surface with a color so it's not just white.✓
Update the window so the changes we made gets reflected on the screen.✓
Make the window stay open until we quit.✓
Cleaning up.
Initialize SDL library
SDL_Init(SDL_INIT_VIDEO);Create a window
g_window = SDL_CreateWindow("Hi!",
                              SDL_WINDOWPOS_CENTERED,SDL_WINDOWPOS_CENTERED,
                              WINDOW_WIDTH,WINDOW_HEIGHT,
                              SDL_WINDOW_SHOWN | SDL_WINDOW_RESIZABLE);
Get the window surface
g_surface = SDL_GetWindowSurface(g_window);Fill the surface with a color so it's not just white.
SDL_FillRect(g_surface,NULL, SDL_MapRGB(g_surface->format,100,100,100));Update the window so the changes we made gets reflected on the screen.
SDL_UpdateWindowSurface(g_window);Make the window stay open until we quit.
SDL_Event e;
    bool quit = false;
    while( !quit ){
        SDL_UpdateWindowSurface(g_window);
        SDL_PollEvent(&e);
        switch (e.type) {
            case SDL_QUIT:
                quit = true;
                break;
        }
    }
This part of the code is little tricky and needs little more explanation.
What i am essentially doing is looping until the user clicks the x on the window to close it. That action creates an event with a type of SDL_QUIT.
And inside the loop we also update the window surface so our changes can be displayed on the screen. On this example i don't do any change so it does not matter if SDL_UpdateWindowSurface called or not. It would be ok to call it once after we did the color filling..
Cleaning up:
After completing our SDL application, it's crucial to properly clean up allocated resources and terminate SDL subsystems.
SDL_FreeSurface(g_surface);
SDL_DestroyWindow(g_window);
SDL_Quit();
Free Surface:
SDL_FreeSurface deallocates the surface associated with the SDL window, releasing memory and ensuring proper cleanup.
Destroy Window:
SDL_DestroyWindow deallocates resources associated with an SDL window, properly closing it and releasing related memory.
Quit SDL:
SDL_Quit gracefully shuts down SDL, releasing any remaining resources and closing SDL subsystems.
Note : On my examples i am following the amazing tutorials from Lazy Foo' Productions. You can also check them yourselves. On this series, i am just commentating on top of them and taking some personal notes. So, please be aware.